No edit summary Tag: Visual edit |
No edit summary Tag: Source edit |
||
| Line 2: | Line 2: | ||
{{cleanup|article}} |
{{cleanup|article}} |
||
{{map|slot=MAP02}} |
{{map|slot=MAP02}} |
||
| − | '''MAP02: The Terraformer''' is the second level of [[Doom 64]], based on its name likely taking place on [[Mars]]. The background consists mostly of a starry night sky, but once you get outside to the 'terraformer' you can make out reddish-brown craggy mountains in the distance. The second level, unlike its more basic counterparts, is more labyrinthine with many closed off areas, dark winding corridors, crushing pathways and puzzles which may disorientate or confuse players. It uses the music track "Warped Hive" by |
+ | '''MAP02: The Terraformer''' is the second level of [[Doom 64]], based on its name likely taking place on [[Mars]]. The background consists mostly of a starry night sky, but once you get outside to the 'terraformer' you can make out reddish-brown craggy mountains in the distance. The second level, unlike its more basic counterparts, is more labyrinthine with many closed off areas, dark winding corridors, crushing pathways and puzzles which may disorientate or confuse players. It uses the music track "Warped Hive" by Aubrey Hodges. |
Much to its namesake, the level features a seemingly powerful machine that "terraforms" part of the level; granting access to deeper parts of the facility for the player to ingress. Oddly, if the player clips through the door barring access to the terraformer area, it can be observed that the machine cannot kill the player, and it will lead to the glitching of the piston textures - causing them to disappear altogether. |
Much to its namesake, the level features a seemingly powerful machine that "terraforms" part of the level; granting access to deeper parts of the facility for the player to ingress. Oddly, if the player clips through the door barring access to the terraformer area, it can be observed that the machine cannot kill the player, and it will lead to the glitching of the piston textures - causing them to disappear altogether. |
||
| Line 53: | Line 53: | ||
|[[Zombieman/Doom 64|Zombiemen]]||17||28||32 |
|[[Zombieman/Doom 64|Zombiemen]]||17||28||32 |
||
|- |
|- |
||
| − | |[[Shotgun |
+ | |[[Shotgun Guy/Doom 64|Shotgun Guys]]||6||10||12 |
|- |
|- |
||
|[[Imp/Doom 64|Imps]]||15||29||37 |
|[[Imp/Doom 64|Imps]]||15||29||37 |
||
Revision as of 09:21, 4 May 2021


- This level occupies the map slot MAP02. For other maps which occupy this slot, see Category:MAP02.
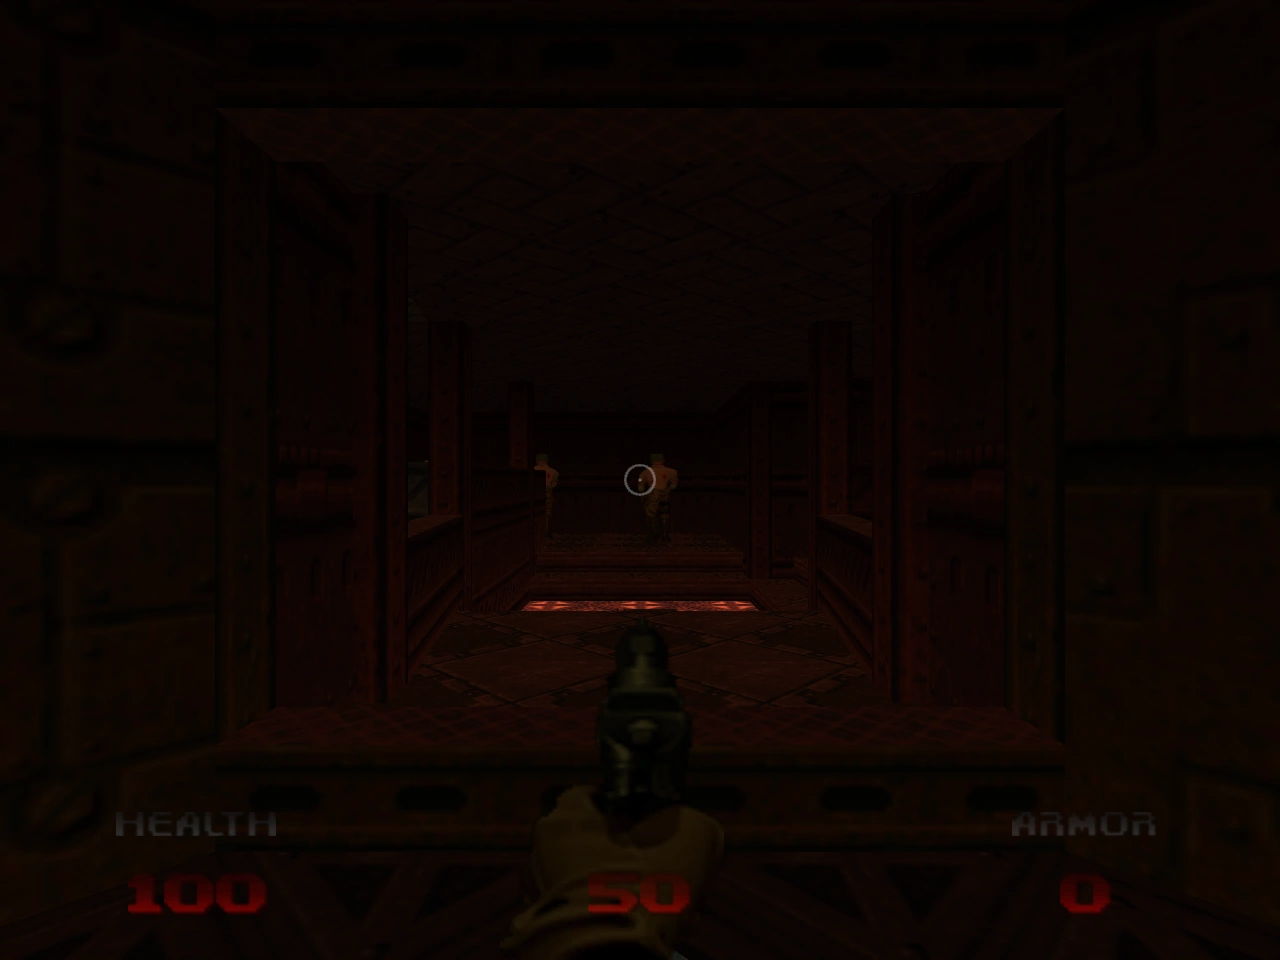
MAP02: The Terraformer is the second level of Doom 64, based on its name likely taking place on Mars. The background consists mostly of a starry night sky, but once you get outside to the 'terraformer' you can make out reddish-brown craggy mountains in the distance. The second level, unlike its more basic counterparts, is more labyrinthine with many closed off areas, dark winding corridors, crushing pathways and puzzles which may disorientate or confuse players. It uses the music track "Warped Hive" by Aubrey Hodges.
Much to its namesake, the level features a seemingly powerful machine that "terraforms" part of the level; granting access to deeper parts of the facility for the player to ingress. Oddly, if the player clips through the door barring access to the terraformer area, it can be observed that the machine cannot kill the player, and it will lead to the glitching of the piston textures - causing them to disappear altogether.
It is also the first to introduce the Spectre monster.
Walkthrough
Starting area
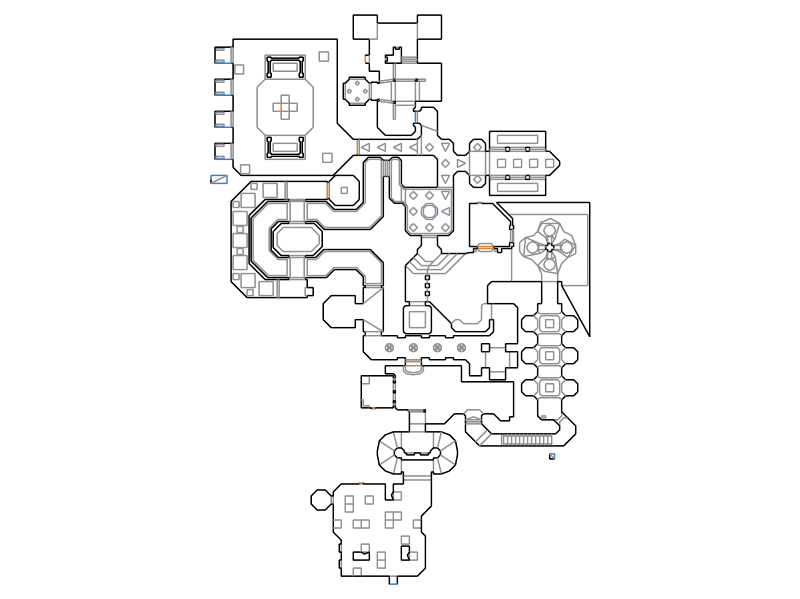
Map of MAP02
Killing the first trooper in front of you will alert more near the starting area. Several imps to your left give a hint where to return later with a yellow key.
After cleaning the starting area, enter a smaller door in the right niche. The following room is pitch black, with the exception of red symbols on the floor. Interpreting the triangles as arrow heads and diamonds as junctions, they lead your way into the darkness. The way to the right is locked. Careful to the left: A lift takes you down to a cell block where several demons get released after you passed the hallway. But there are several boxes of bullets for a chaingun and medikits.
Returning to the darkroom, there is now a circular way in another dark room. One of the triangles on the floor points to a switch on a pillar in the center, which lowers and releases a blue armor, just in time before several soldiers and imps enter. In an outer area, a yellow platform provides a Light amplification visor. To the left of this part you can already see the Terraformer machine and a red door, boxes of bullets and stimpacks, and a soulsphere behind a partially broken fence.
The previously locked door is now open and leads into a yellow room with a box in the middle, where the blue key is placed on top, next to several goodies like a backpack. The box can be lowered with a switch, but this teleports the blue key away before you can get it. In each corner of the room you will see a box where that key gets teleported from one to another randomly, eventually staying on one of them.
Four niches will open, each with a switch in the back wall, and each with two computer screen sockets – except one. The switch in this niche lowers the box with the blue key for a brief time. Grabbing it makes some imps appear. The other three niches with the screens are traps with crushing ceilings if their switches are pressed.
Now you can leave the yellow room and follow the path through the blue door. The following omega-shaped floor contains a few imps and leads around a basement area with crushing ceilings. You can avoid them by trying to halt on yellow lighted floor patches and get the red key; return to the blue floor with the teleporter. The following floor contains imps in a bright lighted niche to the right, but also four rockets. Use them on the spectres in the following hallway with rotating yellow spots in the ceiling. Now you can get the soulsphere and return to the Terraformer control room.
Open the red door, get surprised by appearing imps, activate the Terraformer machine (which closes the control room), watch it working its way down into the floor, and leave the room when it finished (and unlocked the red door). Jump down the hole and find a cell block with imps and caged soldiers. The last cage with a broken fence contains a switch that opens a wall with a floor containing an escalator leading upwards to a guarded storage area.
Pass the door and turn left. Straight in front of you is a yellow lighted control room with imps. To the left you will see two half winding stairs to a storage room with crates. Hugging the right wall leads you to a switch that lowers a teleporter to the control room. Pressing the switch inside here lowers the yellow key.
The large door with the bevel now opens and leads back to the yellow spots. Now back to the starting area through the broken fence and the darkroom, through the yellow door, and you can exit the level.
Secrets
- At the end of the floor with 4 yellow rotating spots, touch the column without black parts at the right wall to lower a lift for some stimpacks and boxes of bullets and rockets.
- Pressing the switch to lower the yellow key also opens a room to the left of the switch which lowered the teleporter to the control room. Containing several boxes of rockets.
Statistics
Map data
| Things | 179 |
| Vertices | 1632 |
| Linedefs | 1965 |
| Sidedefs | 2980 |
| Sectors | 366 |
Things
| Monsters | BG and BIO | IOD | WMD |
|---|---|---|---|
| Zombiemen | 17 | 28 | 32 |
| Shotgun Guys | 6 | 10 | 12 |
| Imps | 15 | 29 | 37 |
| Demons | 4 | 6 | 6 |
| Spectres | 1 | 2 | 3 |