Template:Shadow Wood Hypostyle is the final map of the second hub of Hexen, Shadow Wood. The player must defeat the Death Wyvern in order to progress to the third hub.
Strategy
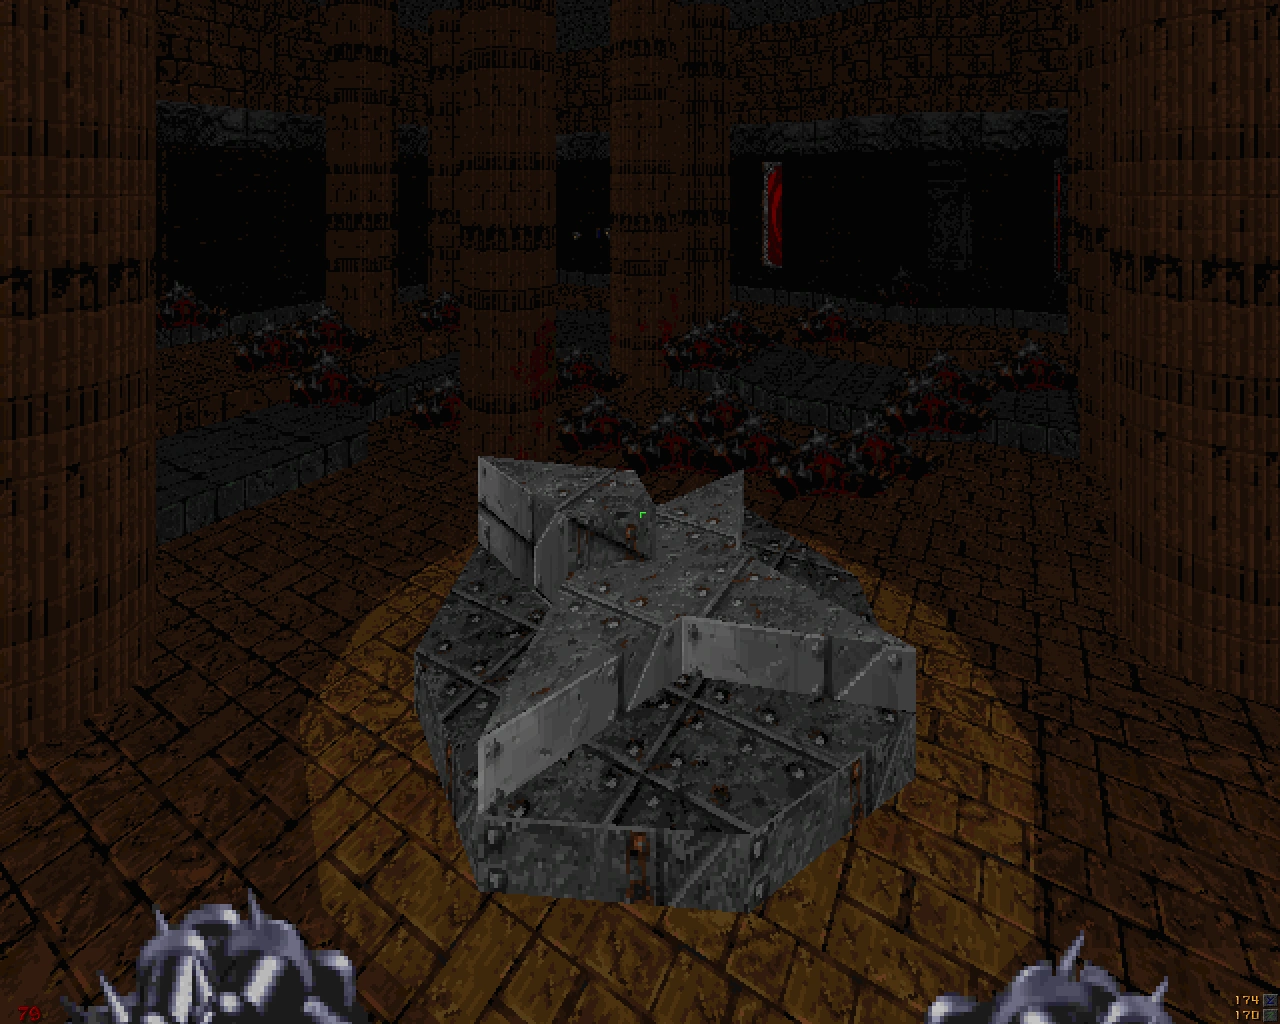
The star telling the player which room to visit
This map consists of a centre room whose roof is supported by many pillars (that being what "hypostyle" means), and four additional rooms to the north, east, south and west. The order in which these rooms are visited is random each game, as designated by the star in the centre of the room. Each of these rooms will push the you right inside as soon as you enter and close the door. Once all of the rooms have been completed, the path to the Death Wyvern is opened.
North room
This room features a number of circular crushing posts. The player must activate each switch as it is made available until you reach the final switch. After each switch is activated, Centaurs will teleport in to attack you. The second piece of the Wraithverge is found here in single player.
East room
This room is fairly straight-forward. The switch you need to activate is at the far end of the room, up the stairs. This will also raise a switch in front of the door which is used to open the door again. The second piece of the Quietus is found here in single player.
South room
When you enter the room, activate the switch to the left. This will raise the bridge over the lava, and change the texture of the water pool to your right to a symbol. Take note of what this symbol is. Be careful when crossing the bridge - if you fall off you will activate the projectile launching faces on the walls. Once you reach the other side you will be presented with 3 symbols on the wall. Activate the one with matches the one on the floor on the other side of the bridge. If you select the wrong one, the trap will be activated and you will be teleported back to the start without completing the puzzle.
West room
This room is straight-forward as well. When you enter the posts in the lava will start raising up and down. You need to time your jumps carefully to reach the switch to complete the puzzle. The second piece of the Bloodscourge is found here in single player.
Final room
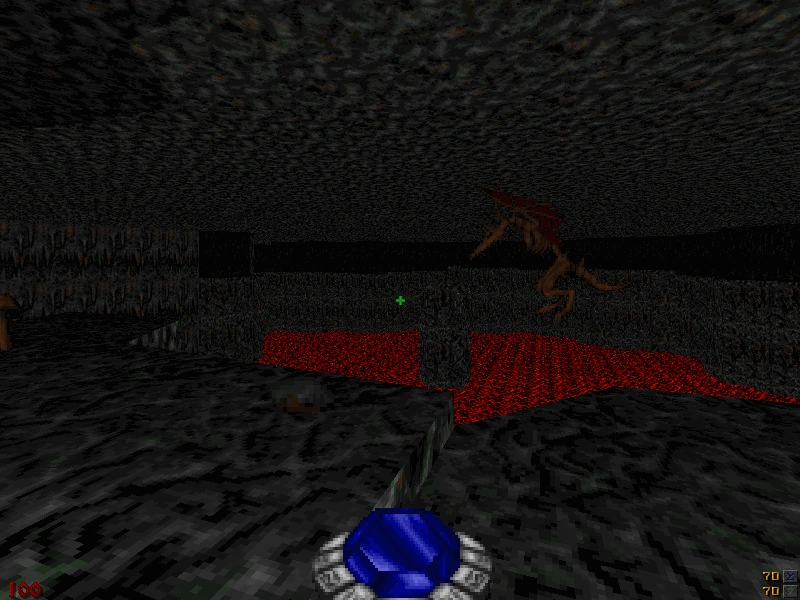
The Death Wyvern
Once you've completed the four rooms listed above, two doors will open to the south-west and south-east of the central pillar room. These lead south to a cave where the player will encounter the Death Wyvern. For tactical information about this foe, check his page.
Once the Death Wyvern is dead, the pillars blocking the second portal in the pillar room will open, allow the player to exit the hub.