
Map of Darkmere
Darkmere is a map in the second hub of Hexen, Shadow Wood. The player must collect the Swamp key from this map, and find two puzzle switches (which require keys from other maps).
Walkthrough[]
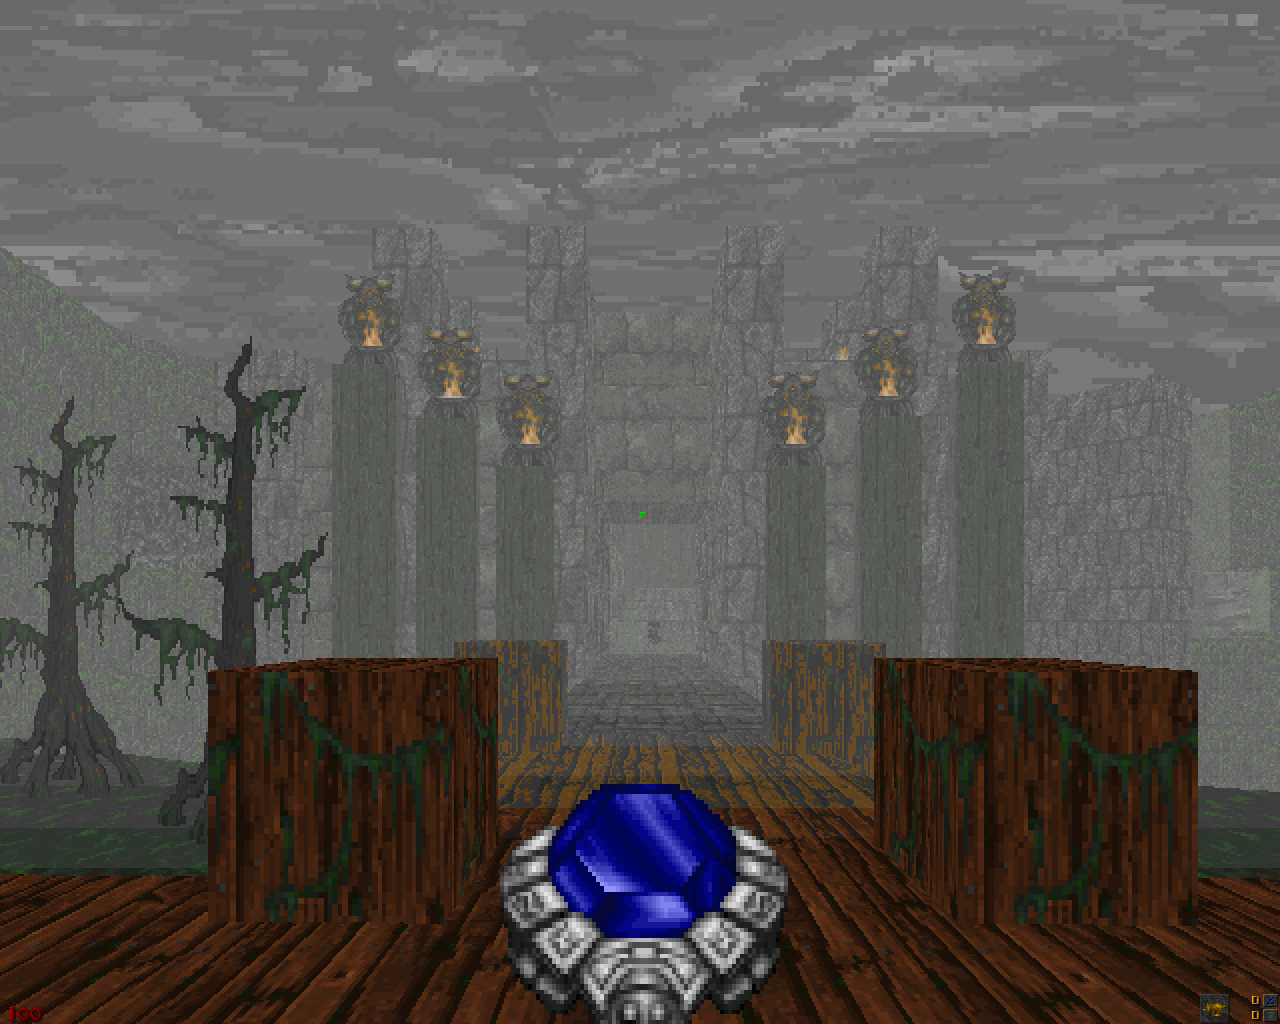
Fort in the mist
Swamp Key[]
Break through the trees at the start, and head north through the building. You will come to a medium sized room where the slime is flowing up and down throughout the room. Go to the west of the room, and active the unlit Maulotaur statue to light it, opening a door to your right. Press the switch in this room to open the door to the north of the slime room. Go to the left and activate the switch there, then go down the straight on corridor and activate this switch too. Now head east and out into an area with a hut surrounded by slime. You can't access this hut yet because the door "is barred from the inside", but you can activate the switch in the porch area. The portal here leads back to Shadow Wood.
Follow the slime river downstream to a new area with a small dock and a large fort. Be careful, the slime flows over a huge cliff which spells certain death! Activate the switch on the dock to lower the drawbridge, run inside (past the stairs) and go through the door to the left. Jump in the well and activate one of the switches (they have the same effect), which will raise the water and give the message "you hear a door open in the distance". Now go back to the hut upstream, where the formerly barred door will now be open, and collect the Castle key. Go back to the fort and climb the spiral staircase, opening the Castle door at the top. Behind one of the suits of armour in this room there is a switch you need to press. This will open the door to the cellar on the opposite side of the fort (down the stairs). Once you reach the room with the four fireplaces, walk in the 2nd fireplace on the left and activate the backwall. Follow the passage around and take the lift up. The Swamp key is at the far end of a long room at the top of the lift, but beware, as traps will emerge to make getting both there and back tricky.
First puzzle switch[]
This puzzle switch requires the Horn key, which can be found on the Wastelands. Go to the room with the four fireplaces within the fort (the route is described above). Walk inside the 2nd fireplace on the right and activate the switch to open the backwall. Follow the steps up, and pass through the rotating Horn Key door. Turn to the right and climb the staircase in the rocks. At the top you will find the first puzzle switch, and a portal leading to the Wastelands.
Second puzzle switch[]
This puzzle switch requires the Cave key, which can be found on the Caves of Circe. Go to the main area inside the fort, and open the Cave Key door (opposite the drawbridge entrance). Take the lift up, and drop down into the slime. Carry on down this river until you reach a staircase on you right, which leads to a large open cave. In this cave there are 4 passage entrances. From the entrance, take the second passage from the left and you should see two winged statues. The second puzzle switch is behind the statue on the right. The portal at the end of this passage leads to the Caves of Circe.
Trivia[]
Bugs[]
- An Amulet of Warding is outside the map at -1488, 2400. The item is close to a switch found north of the rolling slime bottomed room, and would have appeared either for clerics or in co-op play.
- An Icon of the Defender is outside the map at 1744, 2288. The item is close to a well, and would have appeared for mages or in co-op play.
- An Ettin is caught by level geometry at 2304, 1616.
- On hard difficulty, an Ettin at -1184, 2592 is tangled with a Centaur at -1200, 2610.
Notes[]
- "Darkmere" is etymologically similar in name to at least two real-life places; Blackpool and Dublin (the latter from the Gaelic dubh linn, "black pool"; Blackpool is also the name of one of Dublin's suburbs). Since these two towns are at the same latitude on opposite shores of the Irish Sea, it's likely that the two stagnant waterways which gave them their names were once one, before continental drift divided it.